Kimberbell Clear Blue Tiles for Machine Embroidery: Know Your Tiles
You've heard the buzz about Kimberbell's Clear Blue Tiles. But do you still have questions about how they work?
Let's take a minute and get better acquainted with the tiles themselves, as well as review how Clear Blue Tiles help you achieve block-by-block OR all-over/continuous background quilting.
Knowing Your Tile
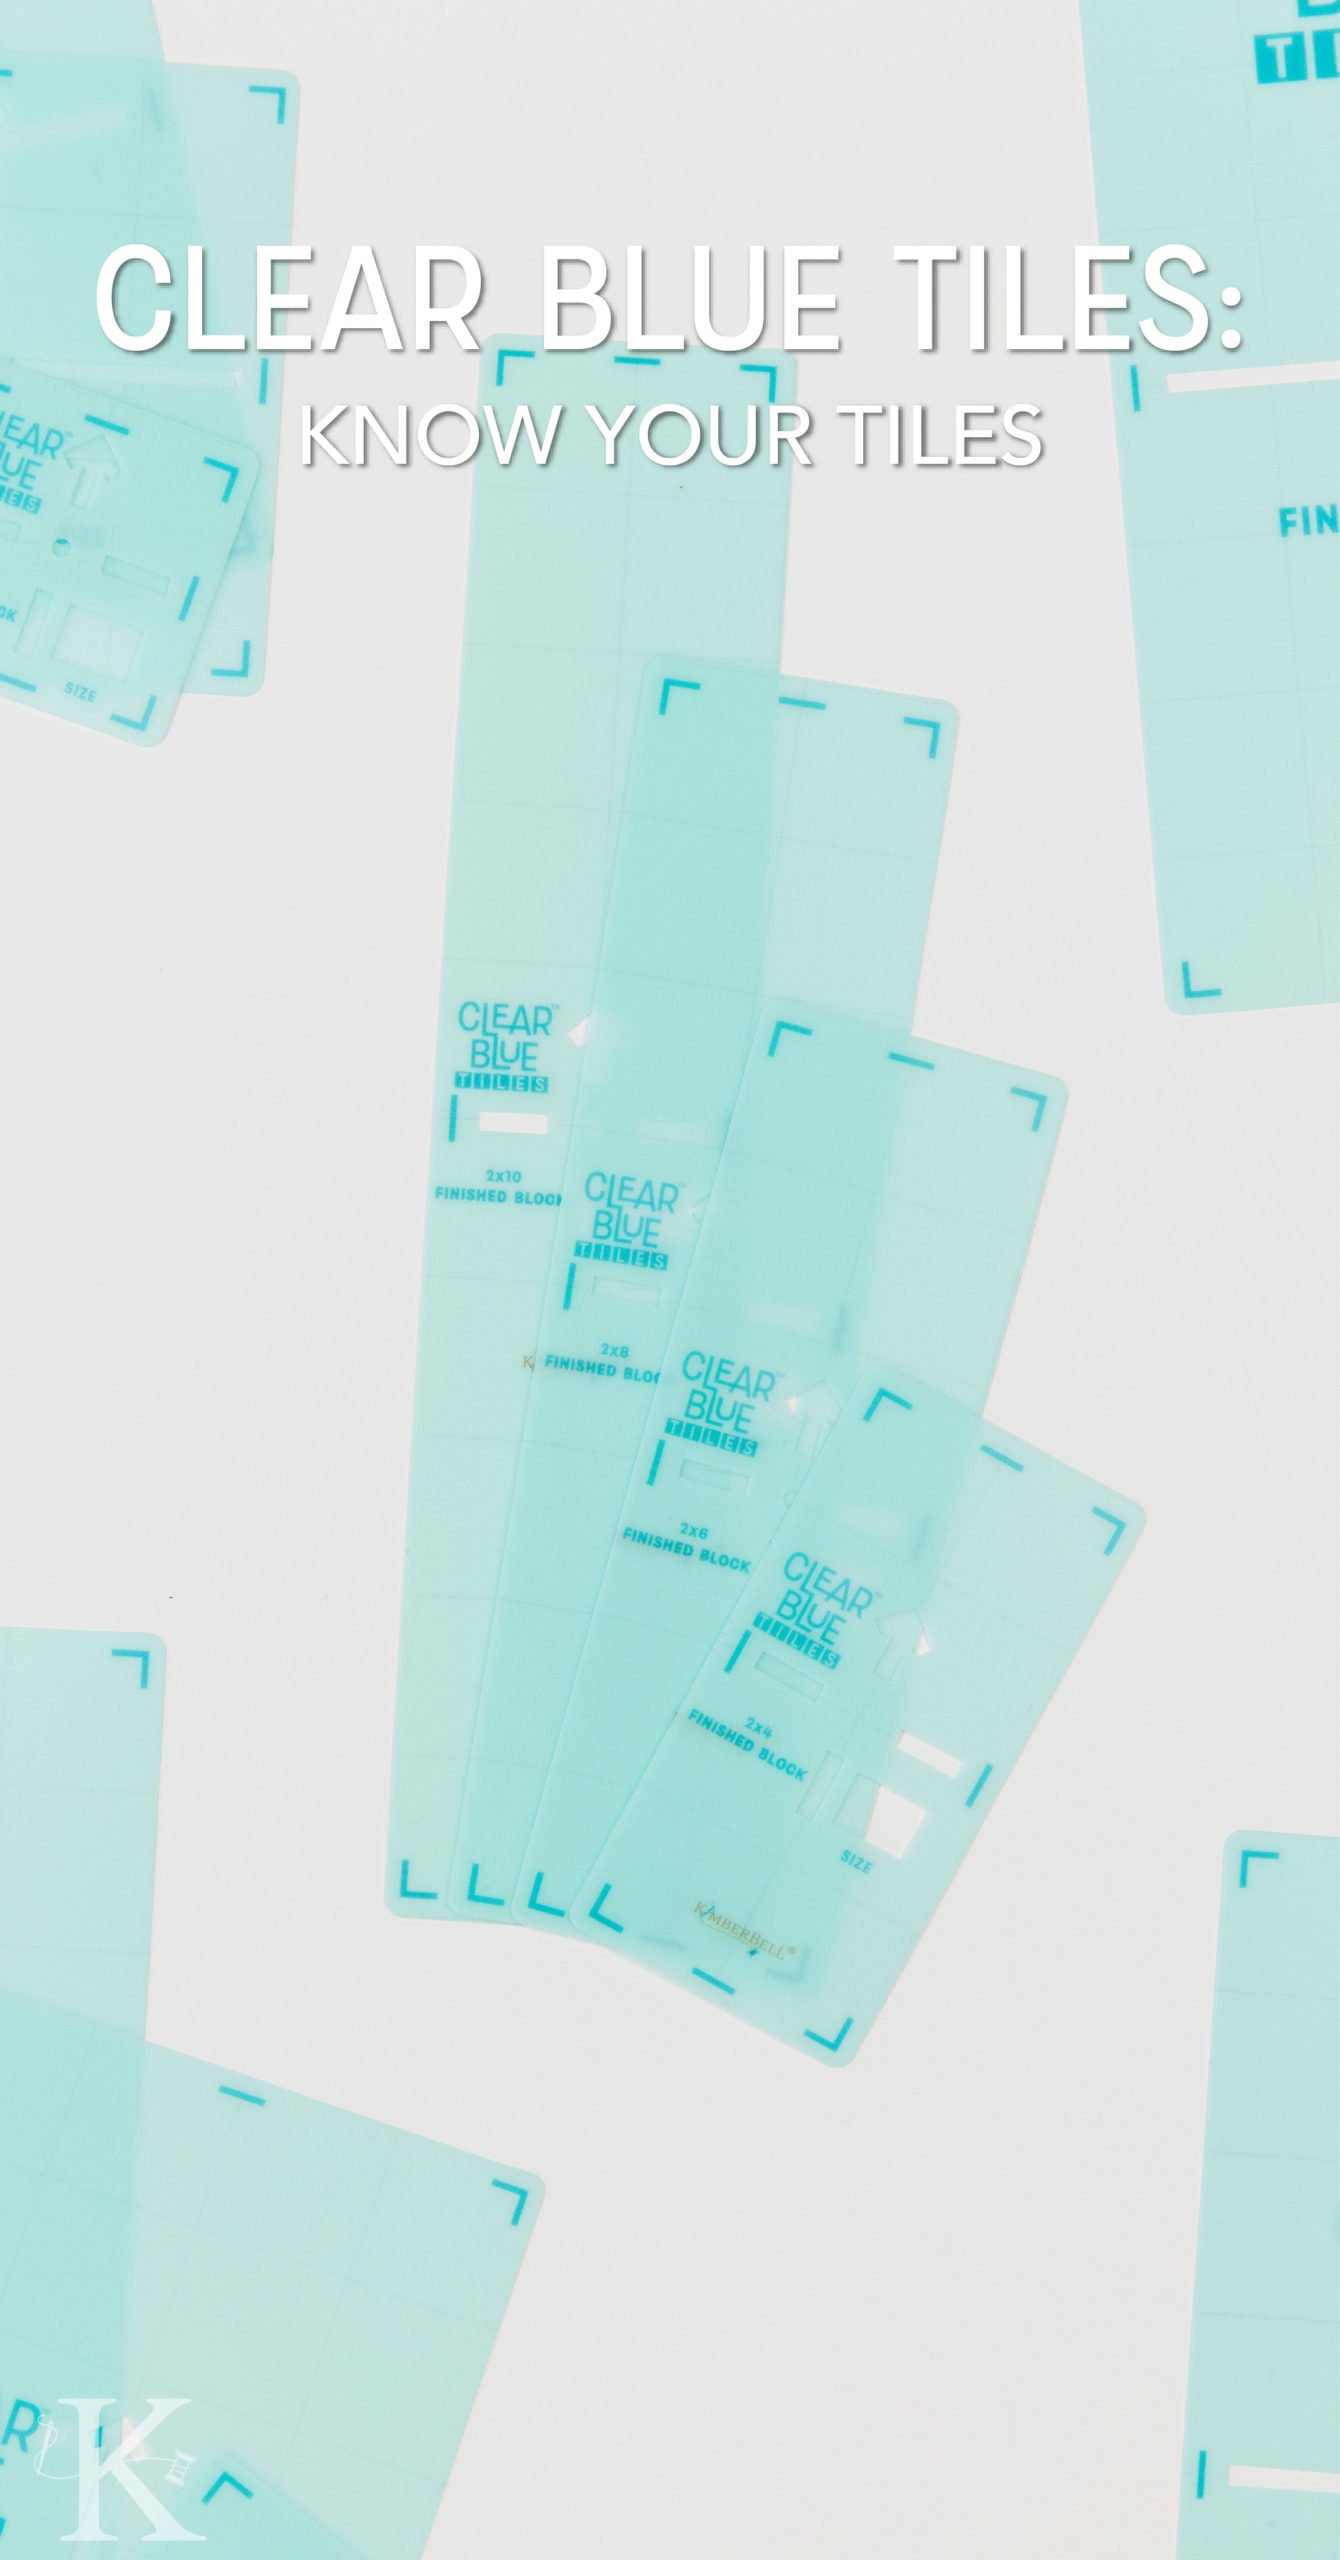
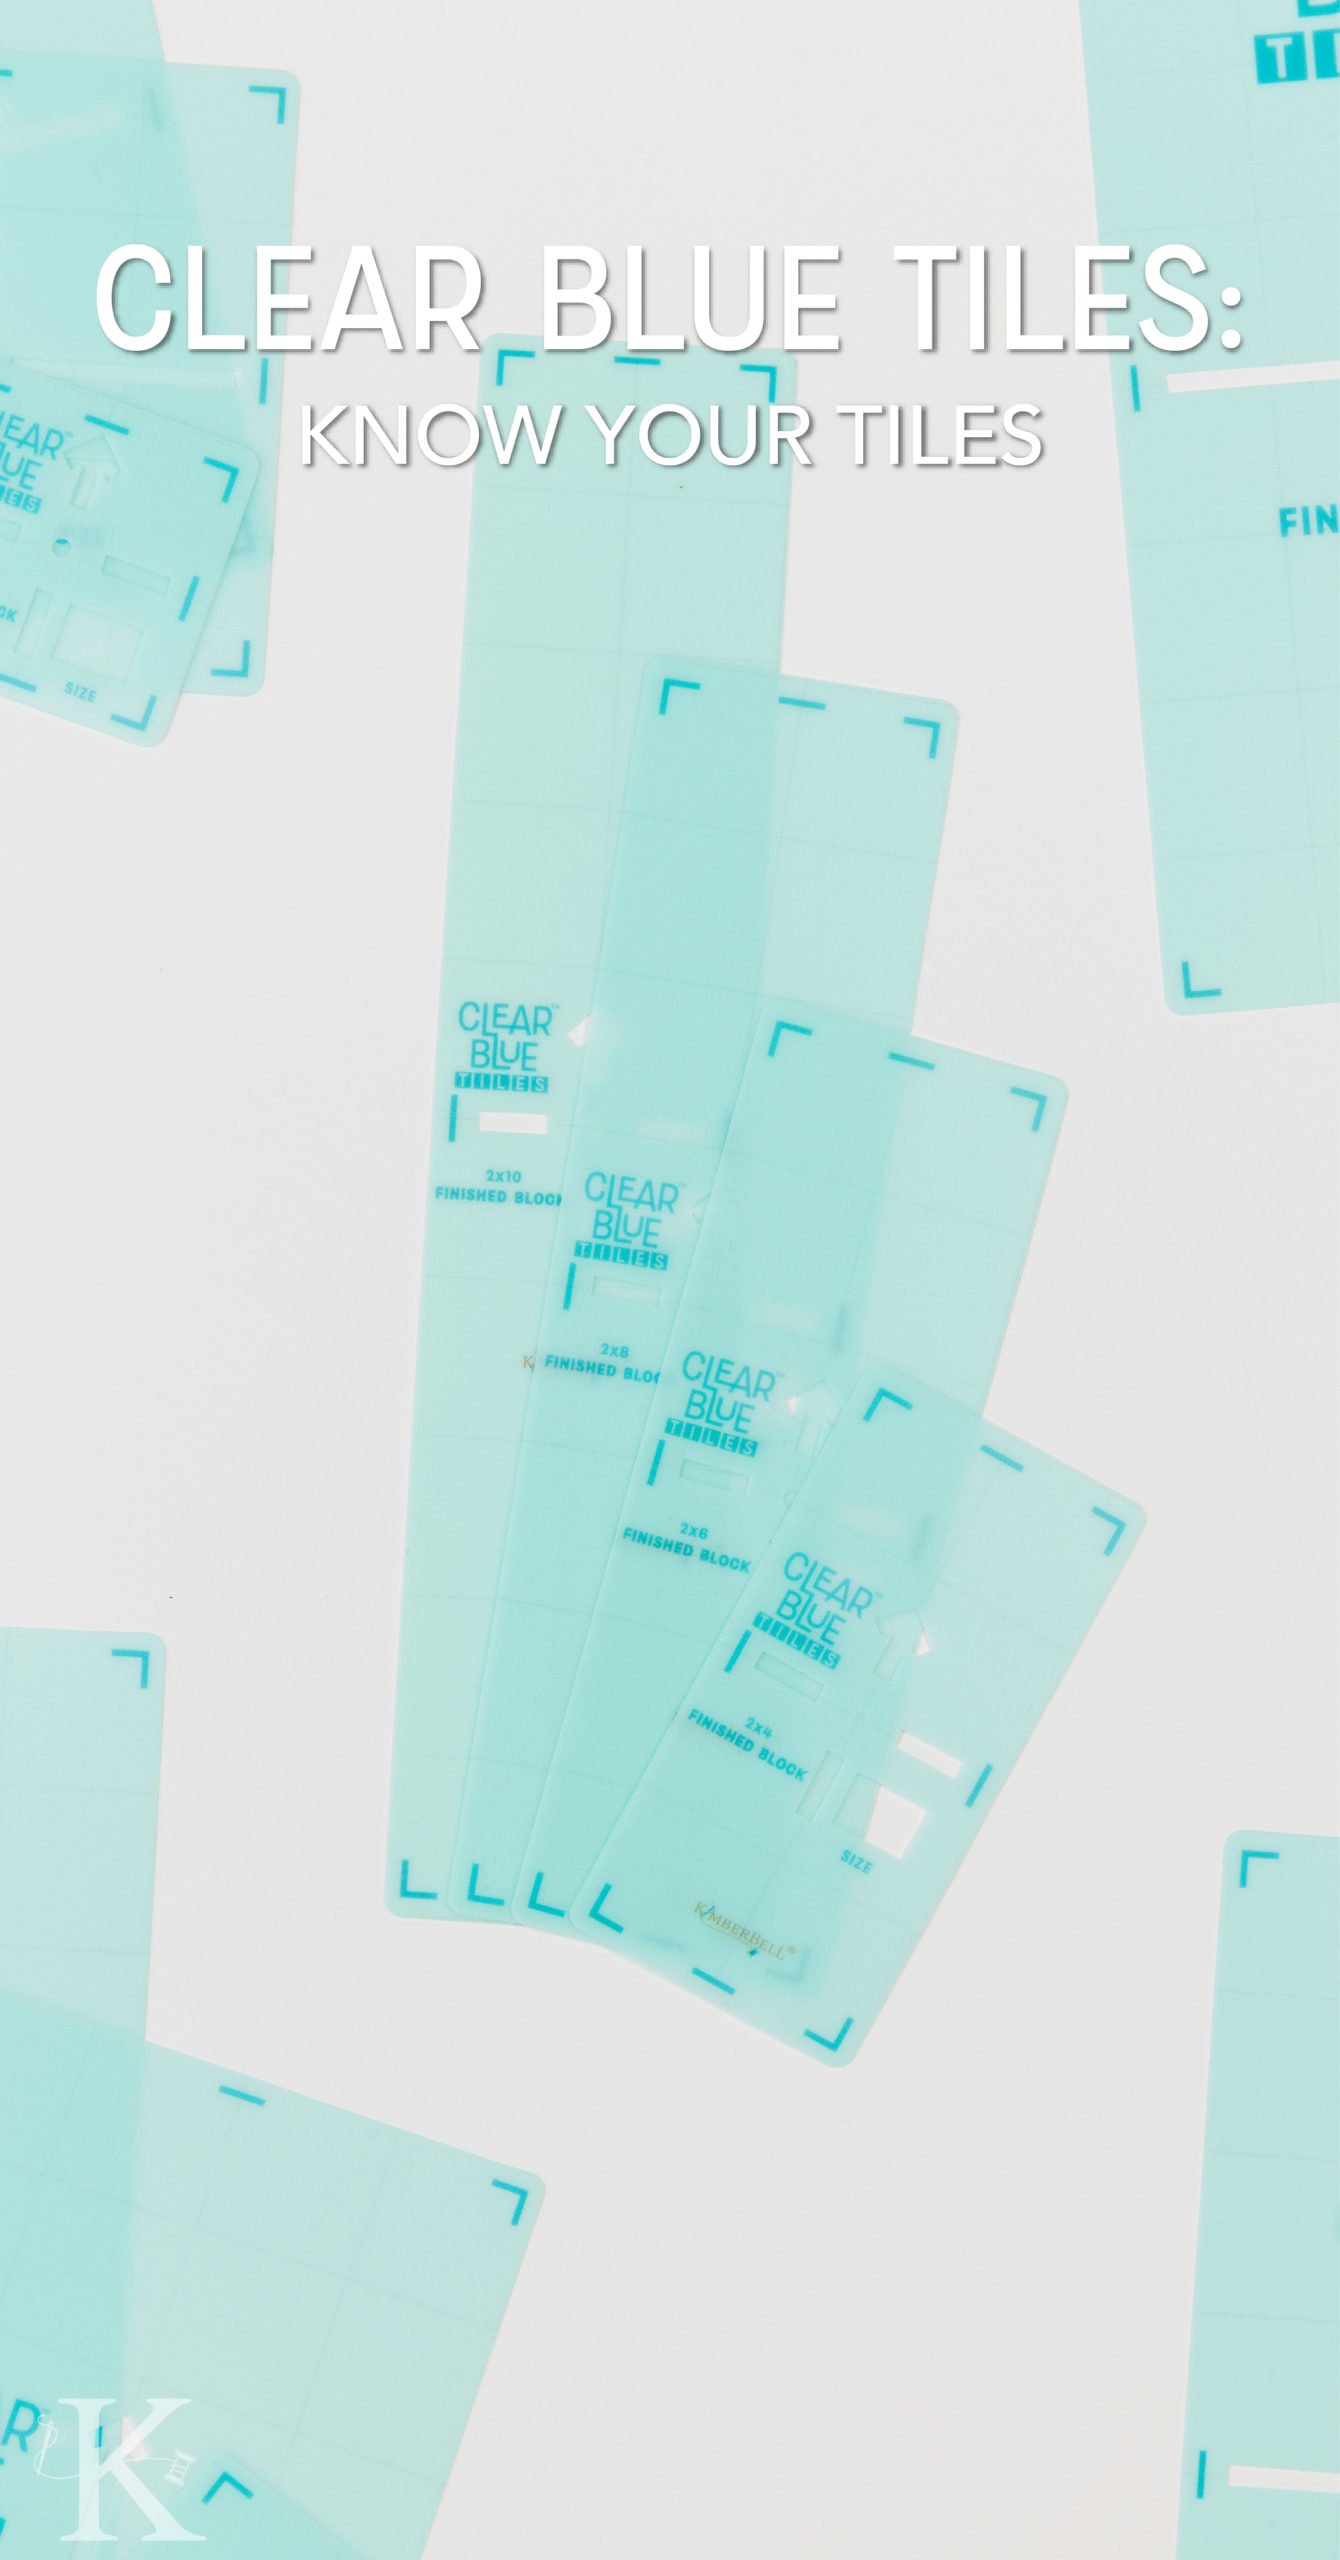
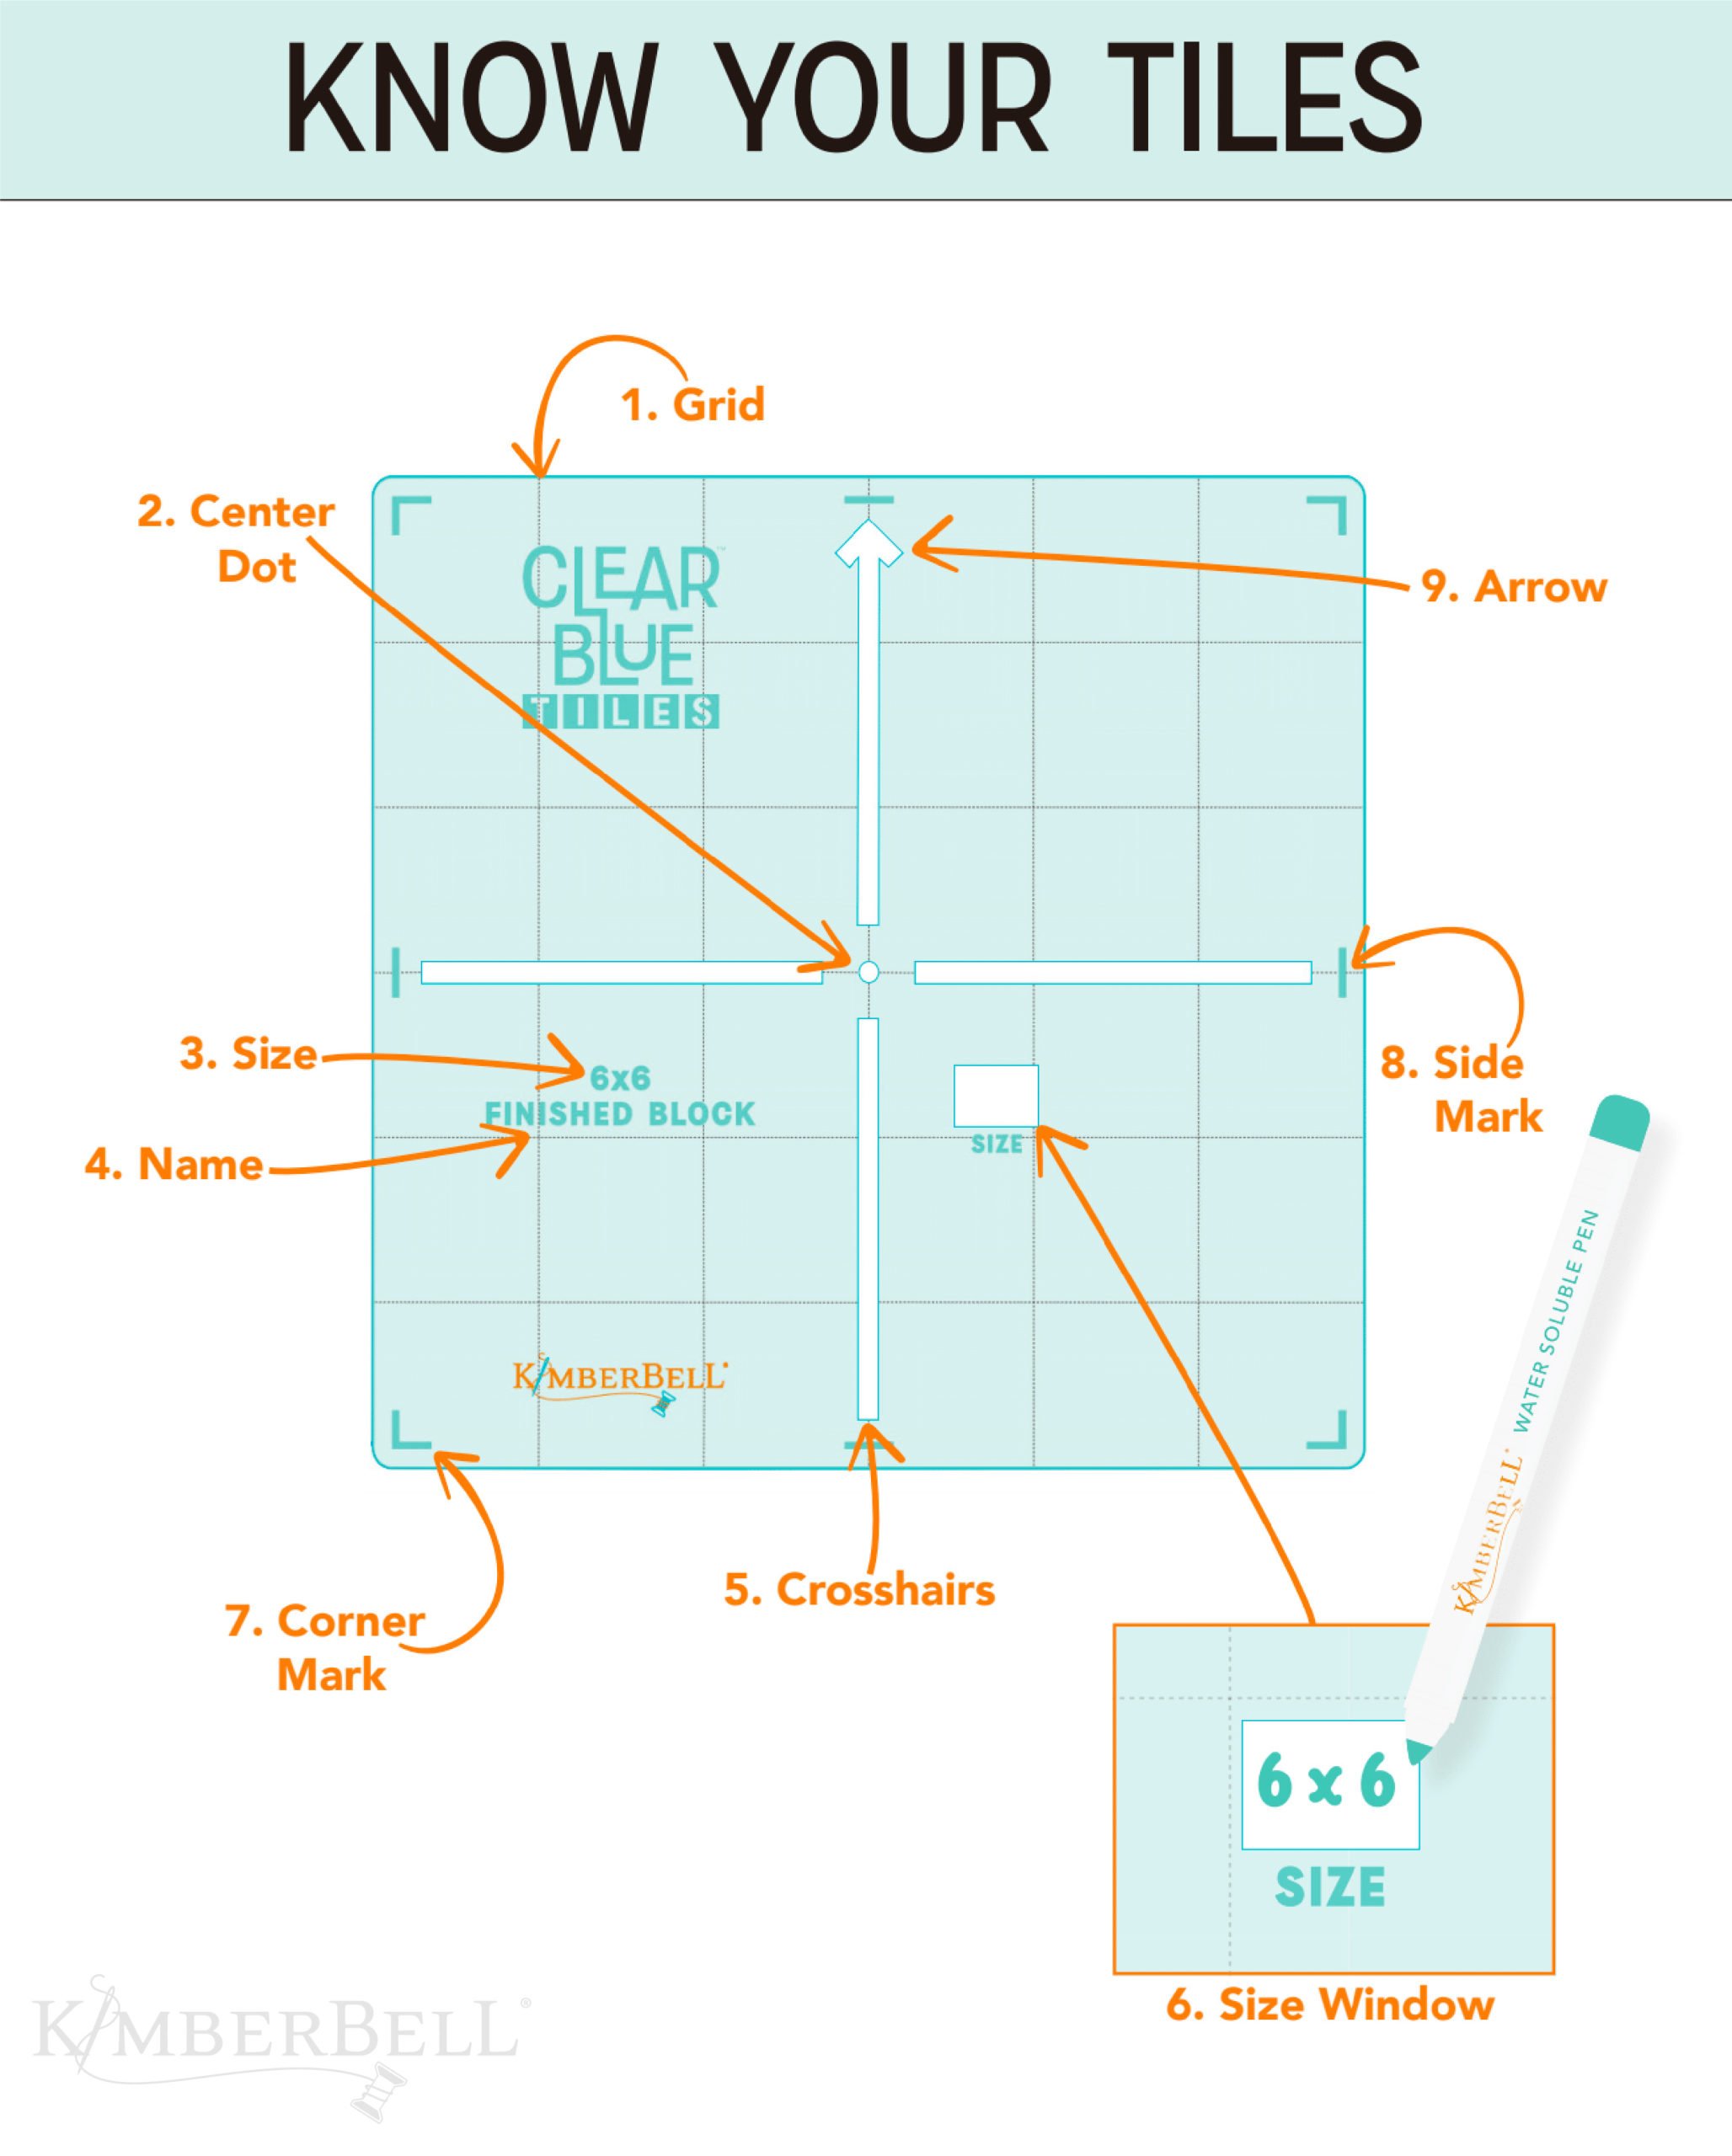
Each Clear Blue Tile was designed with very specific markings:
- Grid: Tiles are marked with 1 x 1" grid squares
- Center Dot: Shows the center of each tile and the design
- Size: The tile size in inches, which corresponds with an embroidery file
- Name: Clarifies whether it's a Finished Block Tile or a Finished Border Tile
- Crosshairs: Used to mark crosshairs on the fabric and center the design in your hoop
- Size Window: A space for marking the tile size on the fabric
- Corner Mark: Where to mark the tile corner
- Side Mark: Where to mark the tile side
- Arrow: Where the top of hoop should be when hooping fabric
Marking Your Fabric
Now that we've reviewed what the tiles themselves are like, let's talk about how they work!
First, you'll choose the tile you want to use. Clear Blue Tiles come as Finished Block Tiles or Finished Border Tiles in the following sizes:
Finished Block Tiles: 2x2, 2x4, 2x6, 2x8, 2x10, 4x4, 4x6, 8x8, 8x10, 4x8, 6x6, 6x8, 6x10, 4x10
Finished Border Tiles: 1x7, 2x7, 3x7, 4x7 5x7, 6x7, 1x10, 2x10, 3x10, 4x10, 5x10, 6x10
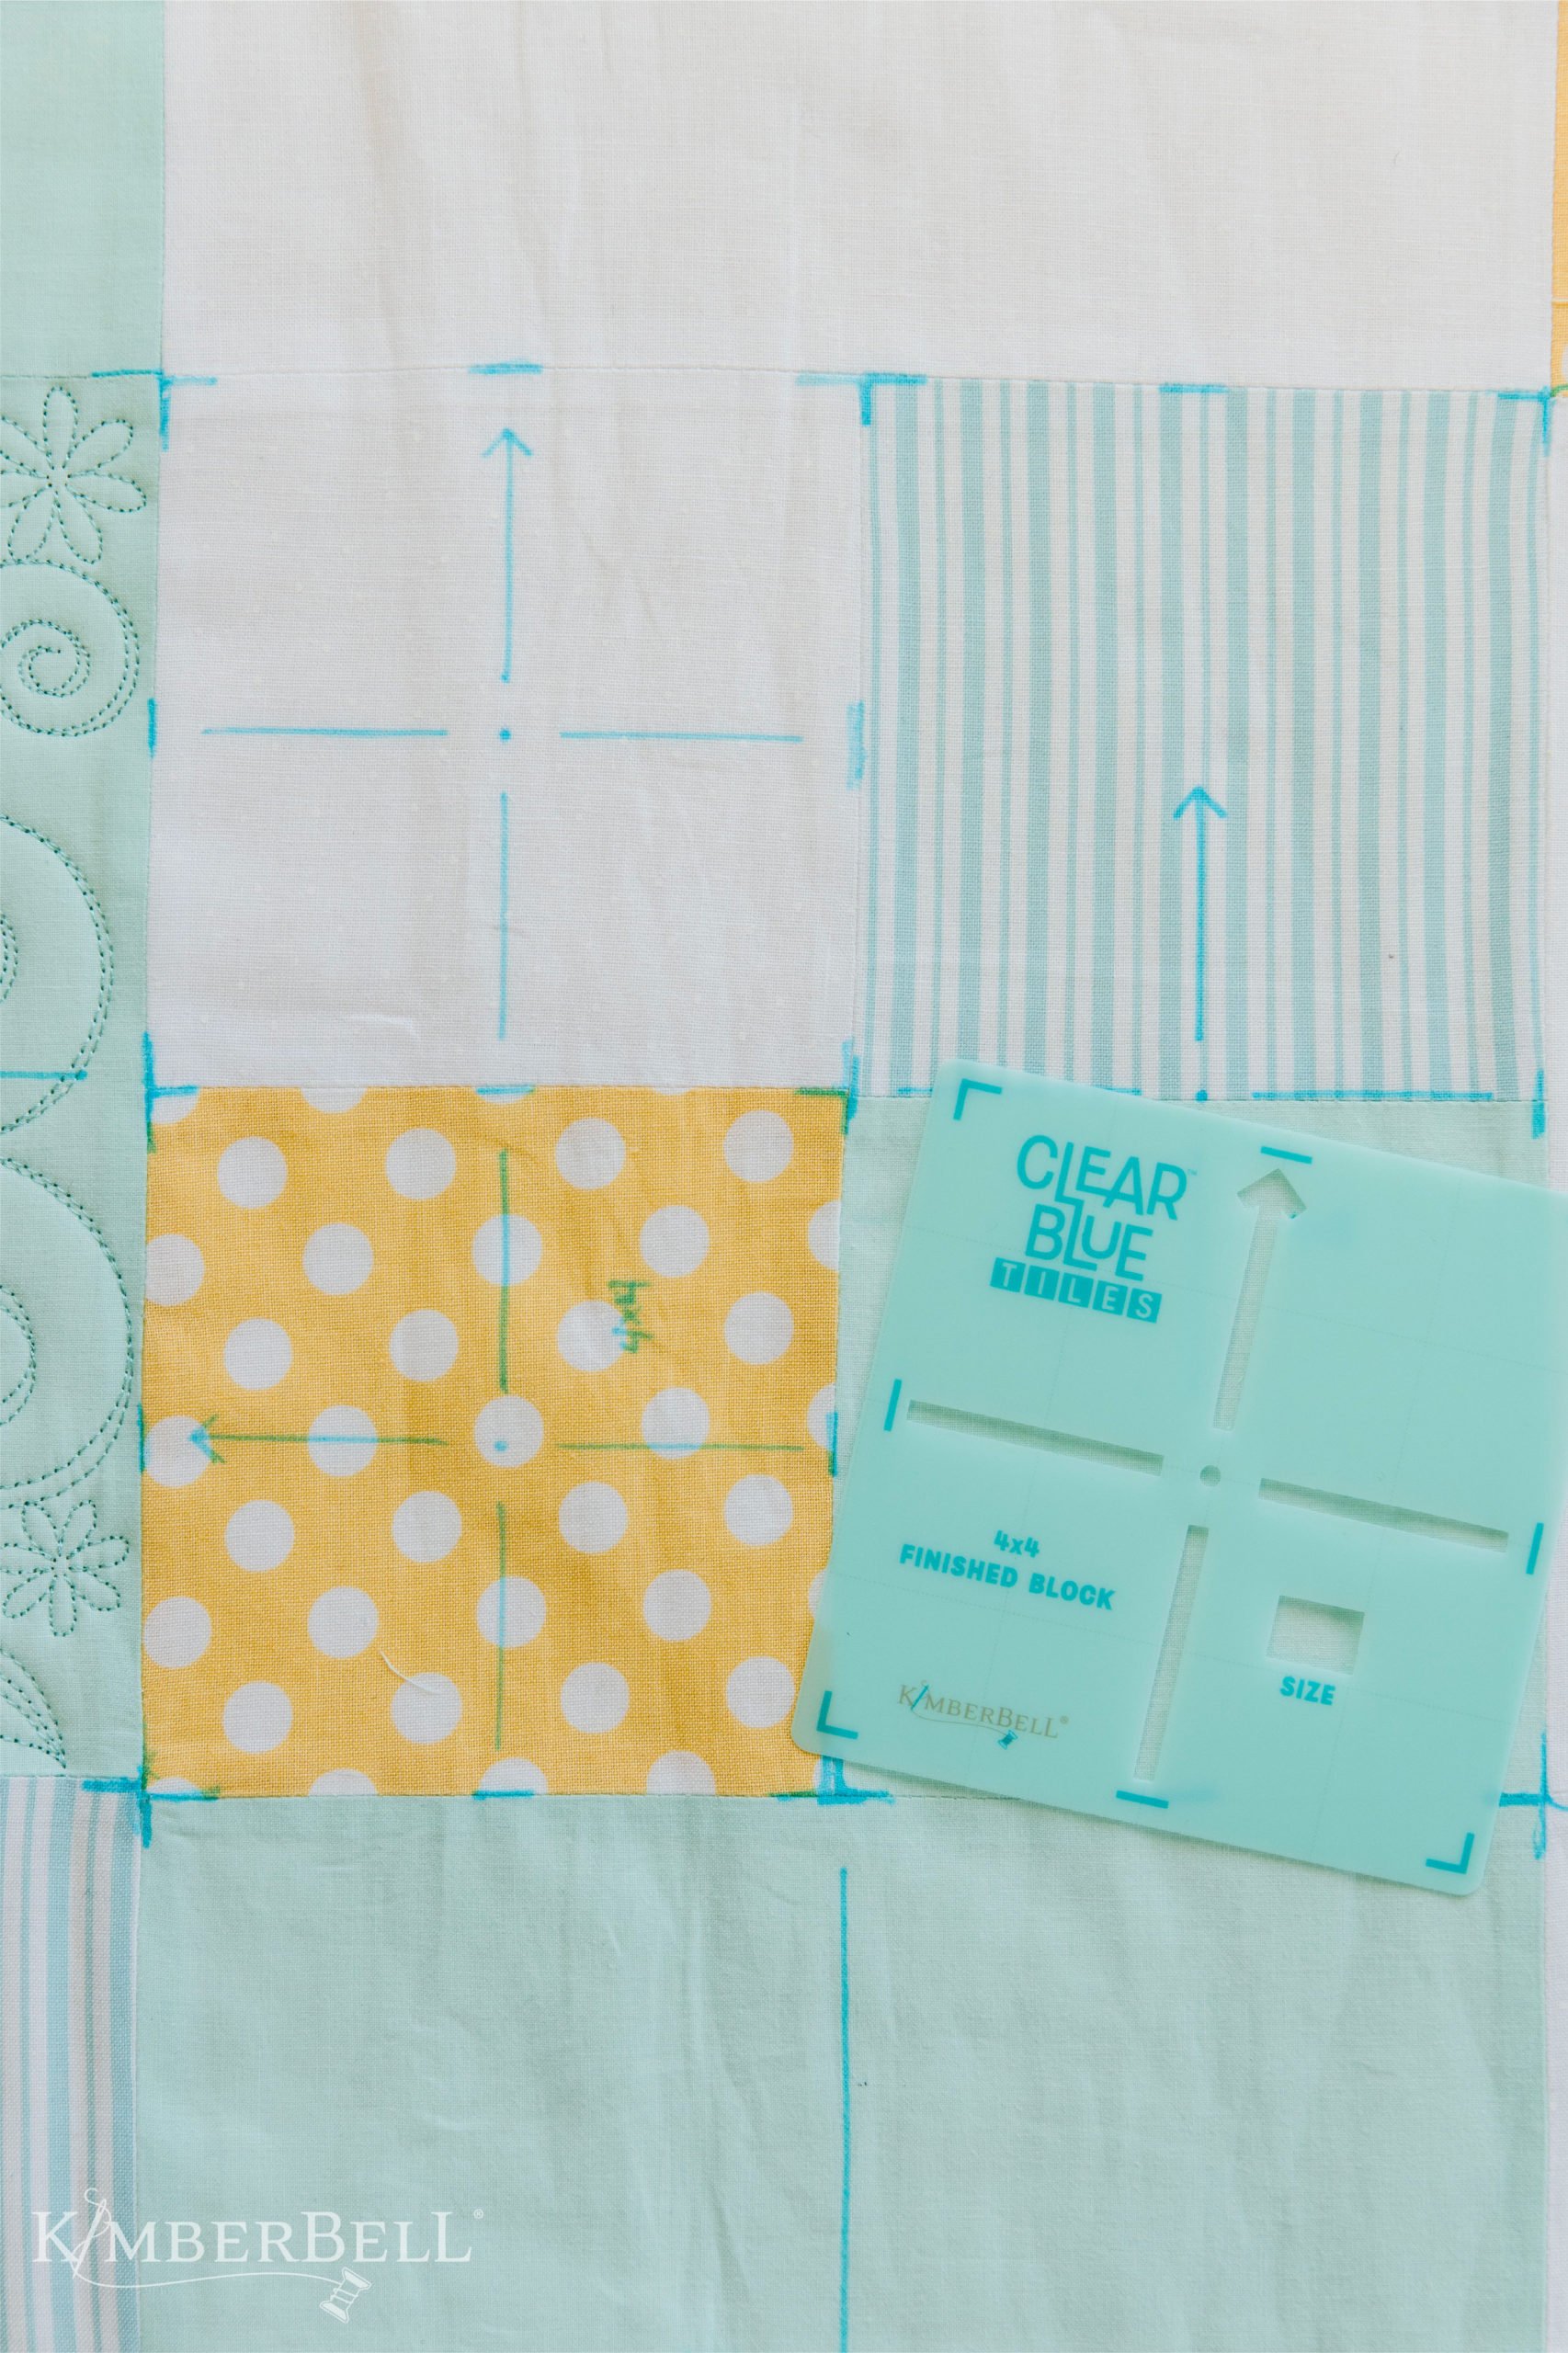
Once you've chosen your tile size, simply place the tile on your fabric and mark the center dot, the crosshairs, and the side and corner markings with a water-soluble pen.
You'll also write the tile size in the little window. This is important because the background quilting embroidery files correspond to specific tile sizes (and have the same name)! As you'll probably use a variety of tiles on your project, it's vital to keep track of which size was used where.
Quilting Your Design
Once your fabric is all marked up, simply hoop your fabric (making sure the marked arrow is pointing to the top of your hoop and the needle is centered with the center dot). Then choose the embroidery file size that matches the size of your Clear Blue Tile and get stitching!
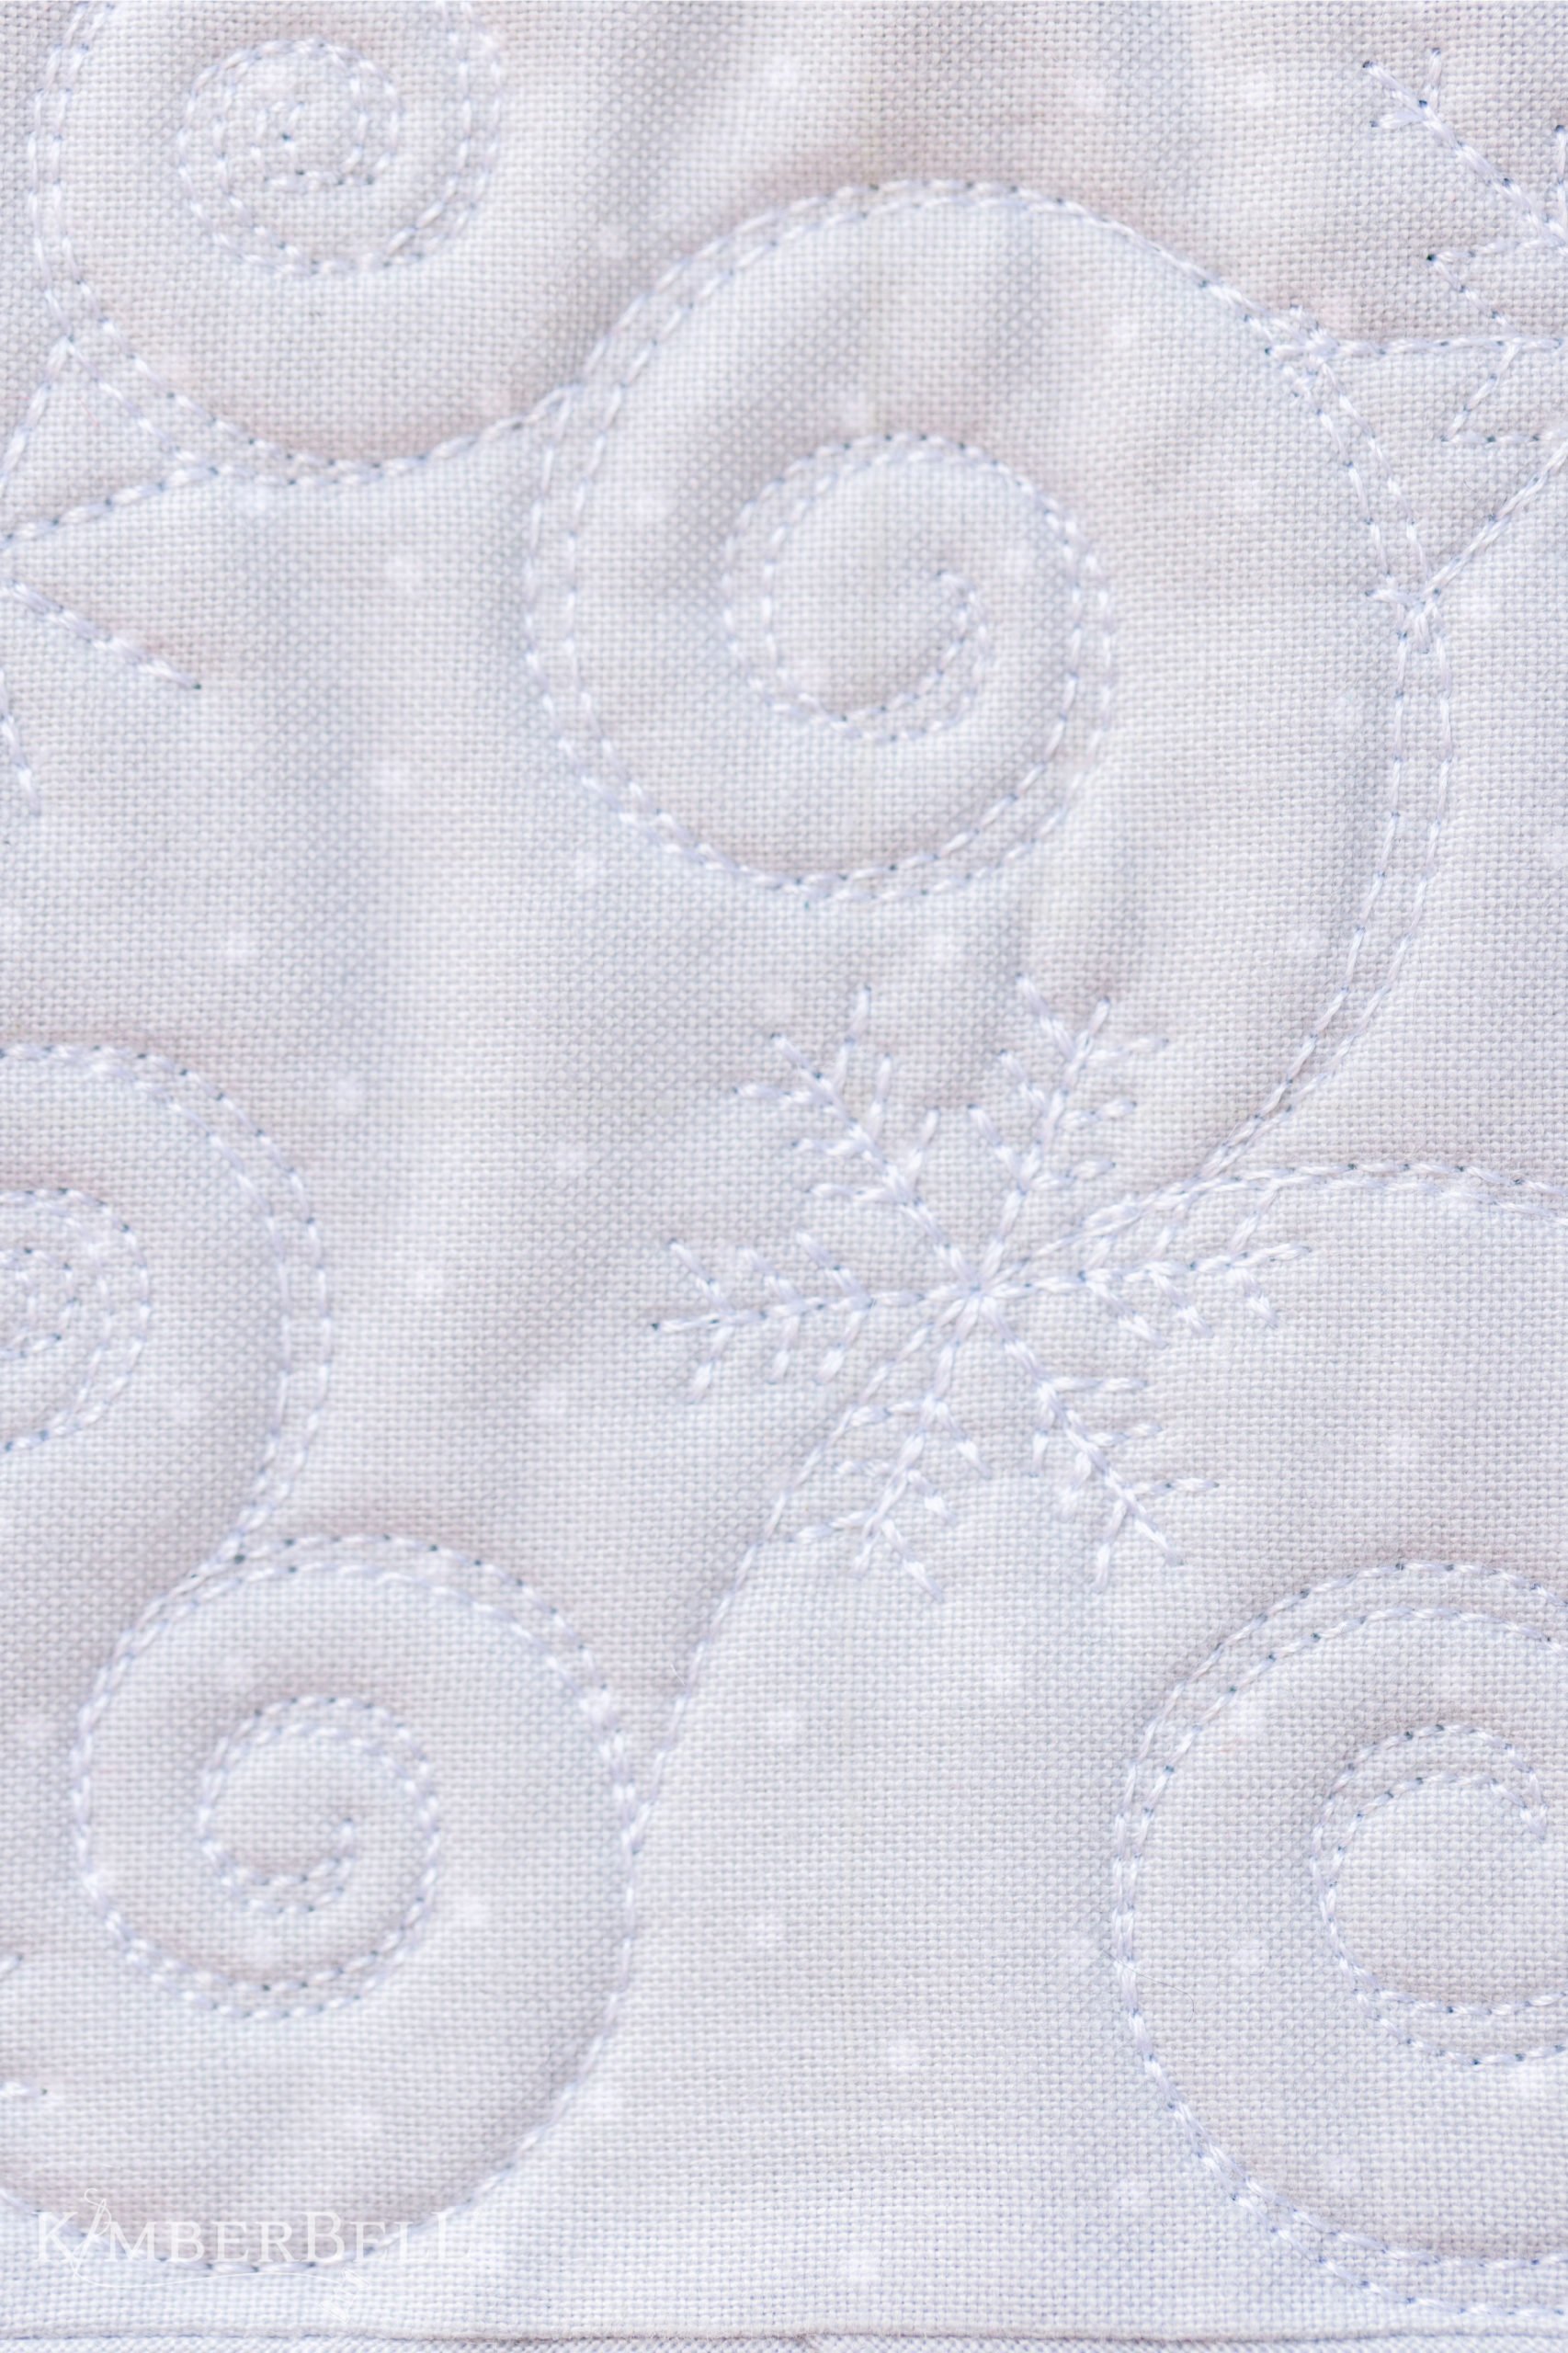
After embroidering the design, spritz the water-soluble markings away so all that remains is your beautiful background quilting.
And that, my friends, is a closer look at what the tiles are like and how they work. Remember that any background quilting design shown in BLUE on kimberbell.com will work perfectly with your Clear Blue Tiles.
Both the Clear Blue Tiles Essentials Set and the Clear Blue Tiles Expansion Set are now available through your favorite quilt shop! (Remember to start with the Essentials Set! :) )
For more information about knowing your Clear Blue Tiles, please watch Kim's short video below!
[embed]https://youtu.be/ONdEVzXrGE8[/embed]

